I will fully admit that during the long cold Midwest winter, I completely ignore my toes. I usually have some leftover polish on my toes, and I’ll trim and occasionally add more polish on to my toes, but I don’t even bother removing old polish. I wear socks at all times (unless I’m in the shower pretty much), so that means the polish is really only seen by me and my husband. It’s there so that when I look down at my feet (sans glasses, which I really need) things still look semi-decent.
But, now that the weather is getting a little warmer and I recently went on a trip to Florida (where it was in the 50’s, so I was still not able to wear sandals at Disney)… anyways, it’s well past time to brush up on my foot care so that my little toes can be seen again. I don’t really have time to do a big pedicure routine, so I’ve found some products that speed things up. Some of these items I’ve purchased, some were provided for review on the blog (though I’ve repurchased most of them). Here are my must have items for a quick and easy at home DIY pedicure!
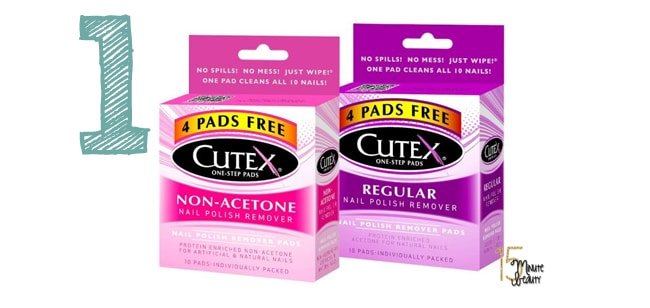
Nail polish remover pads are a must! I’m not a fan of cotton rounds with polish remover anyways, and the added friction from the felt makes polish removal easy. You can also just use a square of craft felt with a polish remover or acetone, but I’d only buy white felt if you do this, sometimes the color will bleed out and that is not fun. (Not that I’m speaking from personal experience or anything…)
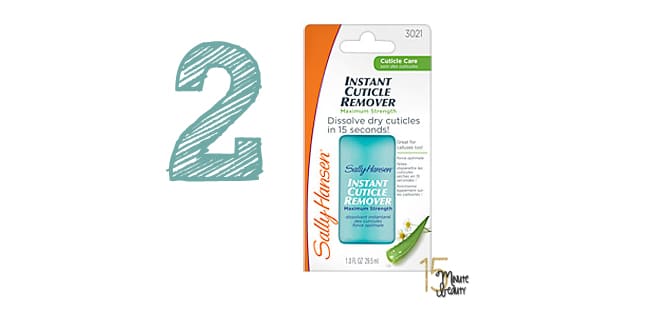
This Sally Hansen Instant (well, 30 second) cuticle remover will remove pretty much any sins. Seriously, it is amazing. I use it on wet skin, just apply a bead at the base of the nail, spread it around with your fingers, and then I run my thumbnails over my cuticles and push them down with the same thumbnail. That’s all it takes. Do it in the shower. Suddenly your cuticles will look amazing, rather than dry and gross and ratty. I will also use this sometimes on dry callouses if they look really bad, and it helps.
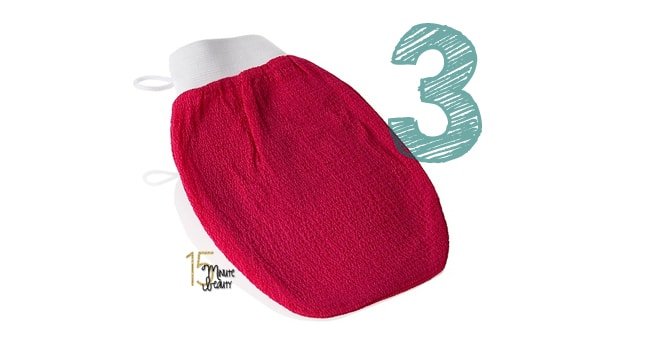
This is my Beautisol Exfoliating Mitt, and it’s great for buffing up your feet! Just run it over your feet, around your ankles a little, and you’re done! Don’t over do it in areas that your shoes rub, you’ll regret that. Just a light rubbing is all you need.
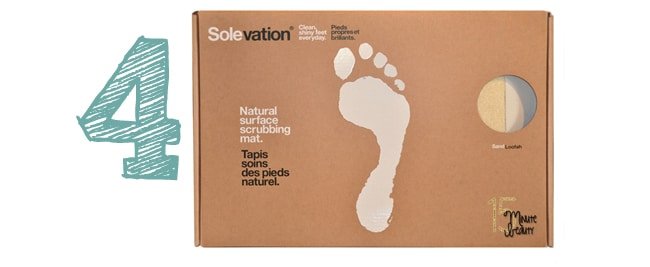
The Solevation is the cooling bath mat ever. EVER. I put it down after I wash my hair (that prevents most of my hair from getting stuck in it), and while I’m letting my conditioner soak into my hair and washing body/shaving, I stand on the Solevation. I’ll do a little turning every now and then, and I make sure each foot spends some time on both the sand and the loofah sides of the bath mat. That’s it. I no longer have to use a foot file! If your feet are looking gross it will likely take a few showers to get things looking good again, but I love that if I keep up with the Solevation I won’t need to spend any extra time on my feet.
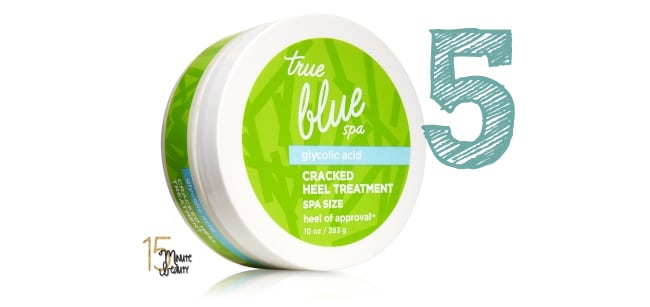
Once your feet are clean and dry, you’ll want to moisturize, moisturize, moisturize! I like to use a cream that is heavy on the moisturizers, but also includes ingredients to help my feet stay soft. Lately my pick has been the True Blue Spa Cracked Heel Treatment (from Bath and Body Works), and then I’ll cover it up with heavy cotton socks.
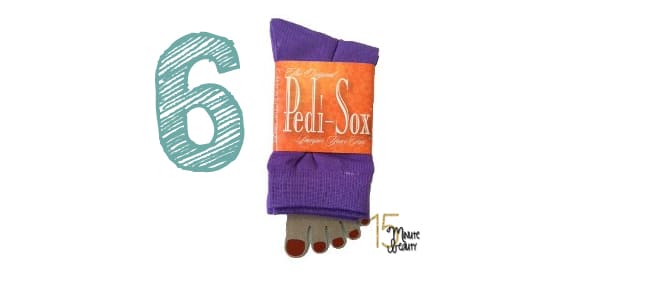
If it’s time for polish but my feet are cold (OMG, this frequently makes me skip polish), I’ll grab a pair of Pedi-Sox. These are thick cotton socks (that heel cream is great under them), but the toes are gone to be free for polish.
Clean up on toes can be a little difficult. I typically do the same cleanup I do on a manicure, which is a small stiff angled makeup brush and a little acetone. You can also wait until your next shower and use a fingernail on any polish on your skin (it should come off pretty easily). Or you could use Liquid Palisades. This is a product that you brush on to your skin before the polish, and after everything is dry it lets you just remove the LP and the polish comes with it! I’ve found that it is a bit too much work for me with regular manis (I’d use this if I was doing nail art or something, I don’t have to clean up with a regular pedi so the step isn’t worth the time) but if you’re messy with a pedicure this might be a big time saver!
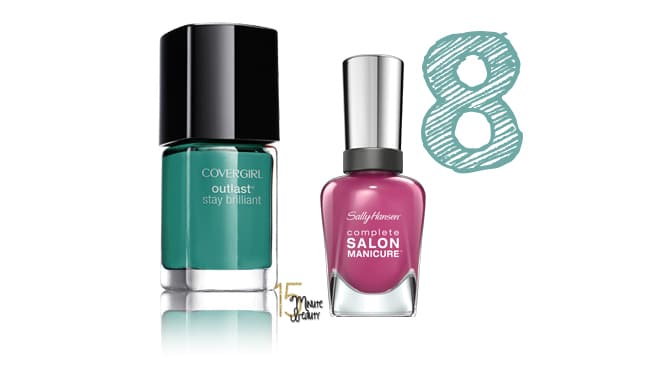
Finally, a long lasting pedicure is all about the correct polish! Everyone’s nails are a little different, but I definitely get the longest wear from 1 coat of base coat (Orly Bonder is my fave) and then a coat of Sally Hansen Complete Salon Manicure or CoverGirl Outlast polish. Both are longer wearing (they promise 7 days of wear or more) and they don’t require top coats. (Yes, technically neither require a base coat, but I get better wear with 1 coat of additional base coat.) I love that they are cheap and come in a ton of colors too, though I usually go for a bright pink since that’s my husband’s favorite.
Are you starting to take better care of your feet yet? What are your tips?
We need pedicures year round here in Florida. It can get expensive but I always think that the professional ones just look better than the home ones. I may try that bath mat though. It looks amazing.
Wow, I really want to try that cuticle remover. Thanks for the tip!
Bookmarked! Thanks for this great post! I love how you explain how to save time with each step (like cuticle remover in the shower or using a foot-file bathmat) and why you really like something (I also skip polishing my toenails bc I hate getting cold feet–those pedi-sox sound like a great solution).
I also use the True Blue Spa Cracked Heel Treatment. I love it!
@Magstermash
OMG, my feet were so cold when I was going to do my pedi before our trip, they were seriously almost blue! The Pedi-Sox helped. So did turning on a heating pad and putting my feet on it… It looked like my feet had no blood flow, it was crazy!
I love all your ideas. I've never heard of Solevation and I need to find that! I have Liquid Palisades and never think to use it.
This is a great post. I would love to go get a pedi once a week but it's not in my budget right now. I can use this and have a girls' night with my daughter and we could do this together each week. Thanks!