Recently I’ve been on a quest for seamless, all day under eye makeup that makes me look awake. And preferably a little younger than I currently am. (This may be a pipe dream, I’m in my mid-40s.)
I’ve been watching a lot of different makeup content online (mostly Rose and Kelli Anne), and I’ve been experimenting with different techniques, brushes, etc. Here’s my current routine, which has given me the most natural (and awake) looking undereye area, and it lasts all day without caking!
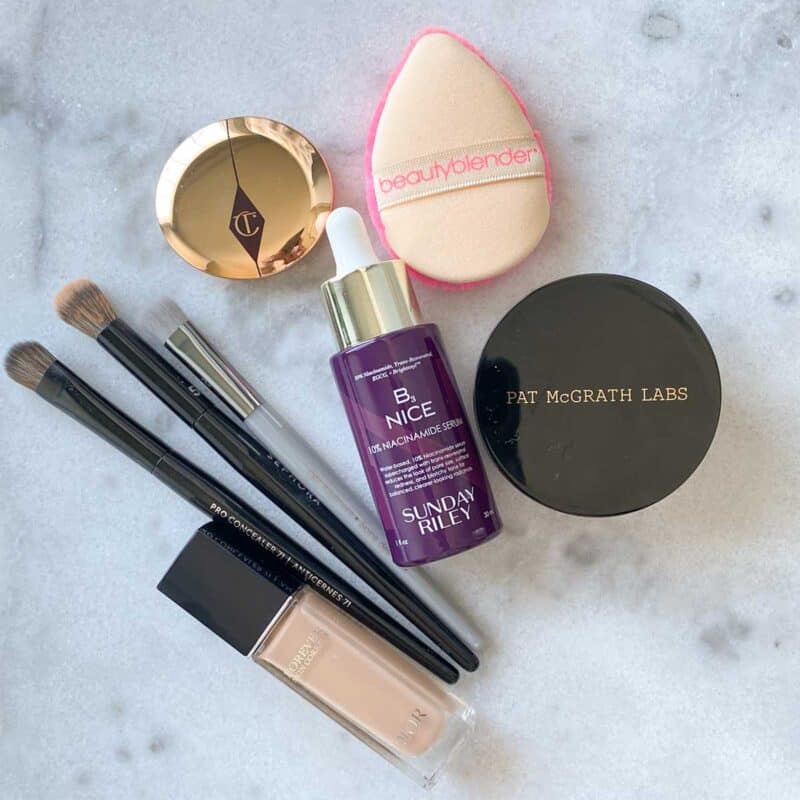
All of my products were found at Sephora, and I’m pretty sure I bought the Sunday Riley Serum when it was available early for Rouge Members of the Beauty Insider Program. You can also get access to exclusive events such as the seasonal savings events, save points for money off or the rewards bazaar, and free standard shipping. They also have same day delivery or buy online and in-store pickup!
1. Concentrate on super hydrating the undereye area
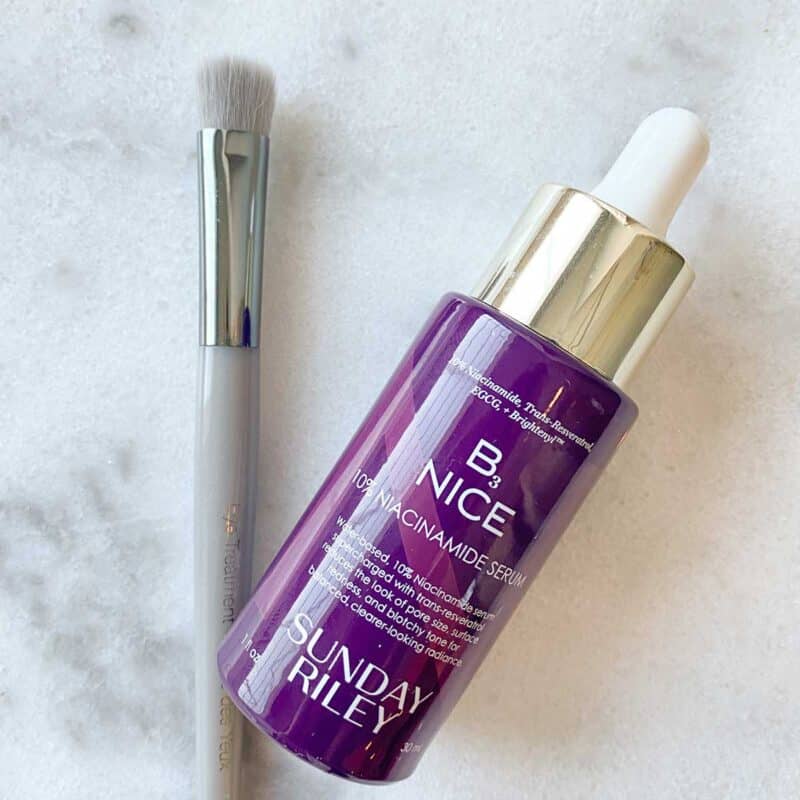
Back in my 20s and 30s I could just slap on a little lotion in the morning, and my makeup always looked great. Now that I’m in my 40s, skin prep is much more important! I’ve been especially concentrating on super-prepping under my eye. Something lightweight that sinks into my skin, but super hydrates and doesn’t leave behind a residue. Today I’m using the new Sunday Riley B3 Nice 10% Niacinamide Serum, which I love because of the skincare benefits fighting uneven skin-tone and redness. I’ve also had great luck with Kiehl’s Midnight Recovery Concentrate. Because that’s an oil, I use only about 1/2 drop between both of my eyes, and I give a little extra time for the product to absorb before I start makeup application.
One thing that I’ve really noticed makes a difference in how my undereye looks, is how I apply my skincare under my makeup. I would not have believed it previously, but after many weeks of doing 1 eye this way and the other eye that way… I’m convinced. You should not just smear on some product under your eyes. Tapping the product in is preferred, but even better is to put a little product on the back of my hand, tap the Sephora Vegan Eye Treatment Brush into it to pick up a small amount, and then tap the product onto my skin. I think this might change how any residual product sits on the skin, so that affects makeup application over the top. This added 20 seconds makes my makeup look much more natural.
2. Color correct very selectively
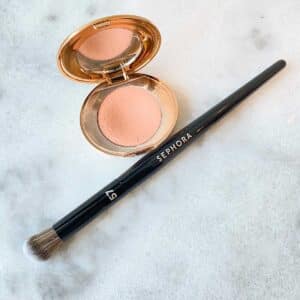
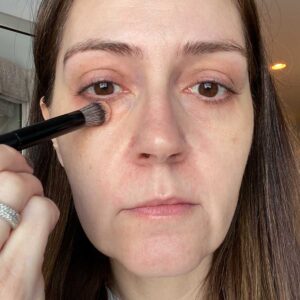
First, I’ve gone from just applying color corrector to anything that looks remotely dark, to very selectively just where I need it the most. You also need to apply the right shade. Too light means it won’t color correct, too dark and you’ll look orange. Here I’m using my favorite Charlotte Tilbury Magic Vanish Color Corrector in Fair, and I apply with Sephora PRO Concealer Brush #57, gently tapping a small amount just where I need it.
3. Light layers of full coverage concealer
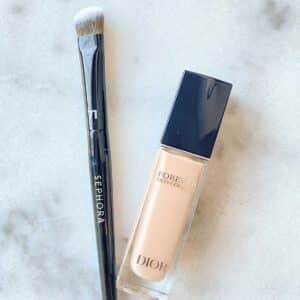
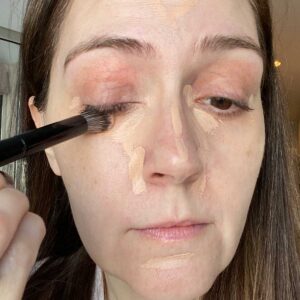
Next, concealer! This is the new version of Dior’s Forever Skin Correct Full-Coverage Concealer, which is a creamy full coverage concealer that doesn’t become too dry. You need a shade that really does match your skintone (I’m 2CR), going lighter for a “brighter” look will just put emphasis on any wrinkles or creases. I apply to my inner eye, directly under the inner 1/3 of my eye, the outer corner, around my nose, etc. I prefer small amounts in two very light layers, heavy layers are more prone to caking later. I tap it on with the doe foot applicator in the product, but then spread and blend with the Sephora PRO Concealer Brush #71. I tap the brush rather than sweeping.
I’m concentrating on the undereye area, but I will say that once I have that nicely blended, my next step is foundation. Lately I’ve been obsessed with the Patrick Ta Major Skin Crème Foundation! It has medium coverage, blends very easily and looks perfect all day. I use the Rare Beauty by Selena Gomez Liquid Touch Foundation Brush to tap into the foundation, then tap and gently swirl the brush to apply all over my face.
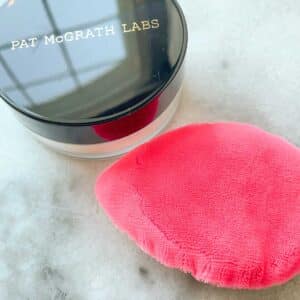
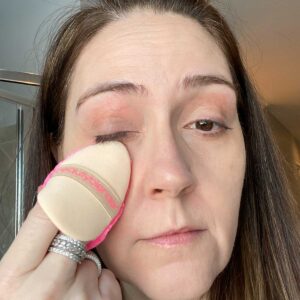
4. Press on powder with a puff
I know there are people out there that can go all day without needing powder, but I’m not one of them. My makeup no longer melts off due to oiliness, but it seems to… disappear? I’m not sure where it goes. So I need powder, but I have to be very careful. To much powder, or applied in the wrong way, and my entire undereye area looks cakey in under 30 minutes. That just puts a lot of emphasis on any slight imperfections, and I’ve added at least 10 years to my age.
I’ve found that the secret is a puff. It feels very 1950’s housewife, but truly, it makes a big difference! I also need to ensure that all powder that goes under my eyes is a loose translucent powder, this doesn’t work as well with a pressed powder. I’ve been loving the Pat McGrath Labs Sublime Perfection Setting Powder (I use Light 1, but I may need Light Medium 2 during the summer), and I’ve combined it with the BeautyBlender Power Pocket Puff™. This puff has a thick velour, and the shape fits perfectly under my eyes and around my nose. I pick up a small amount of powder and then rub the puff on the back of my hand in small circles. Why? Because I want to press the powder into the puff, which later allows just the right amount of powder to be applied. Without this step, I end up with too much powder on my face.
Next I take the puff and gently press it over my skin, with a bit of a rolling action. Press and roll, don’t pat or sweep! This pushes the powder into your skin and makeup, helping to set it.
Using these techniques, I definitely look more awake! My makeup also looks much more natural (like skin), rather than like I’m someone wearing many layers of makeup. It also looks great all day long. While I’ll never look like I’m a fresh faced 25 year old (that was 20 years ago!), I love looking like a better version of myself all day.
What are you using for your undereye area?
Shop the Post
Sponsored Post
This post is a collaboration with Sephora, but all opinions and product obsessions are my own!

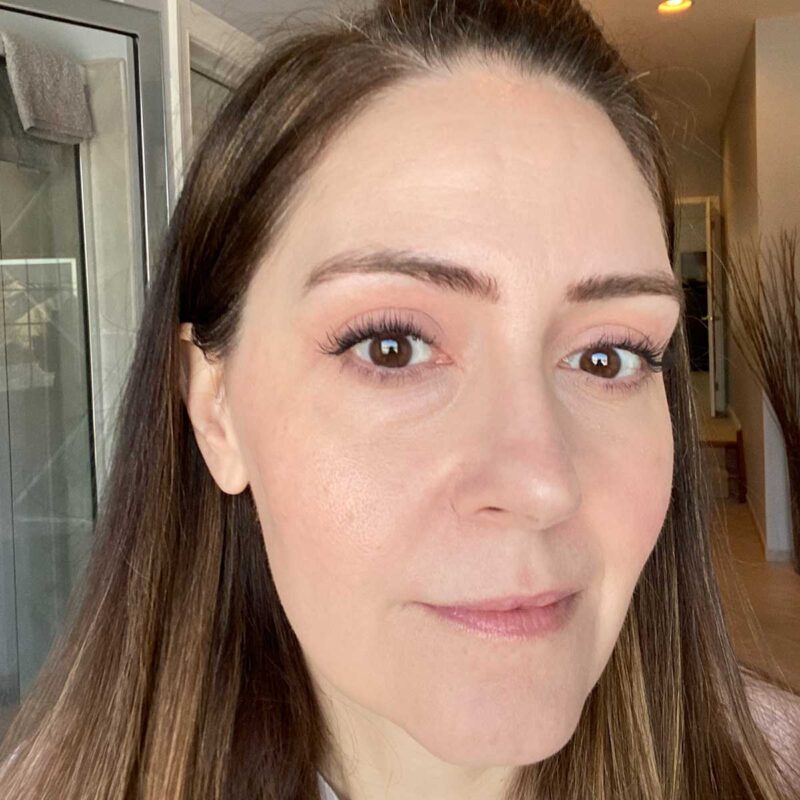

 I’m a doctor, a mommy and a bit of a beauty addict. If you let me, I can take 2 hours to get ready in the morning. Really. I'm on a quest for faster beauty that works!
Thanks for this detail. I desperately need it. I like the natural as possible look and you definitely achieved it. Thanks again.
I’m glad it helped! I’m not one of those people that wants to look oddly airbrushed in real life.